Tester Guide — Start Here
A plain-language walkthrough of the Marketplace Admin Panel and the Vendor Admin for QA and testers: what each panel is for, how to log in, how the marketplace fits together, the glossary you need, and an end-to-end happy path you can follow to exercise the whole system.
This guide is written for testers — not for developers. It explains, in everyday language, what the two back-office web apps do, what every screen is for, and the exact click-by-click steps you follow to exercise each feature. No code knowledge is needed. Wherever a screen is shown, the screenshot is from the real running app so you know what to expect before you get there.
There are two separate back-office apps:
| App | Who uses it | What it controls | Default local URL |
|---|---|---|---|
| Marketplace Admin Panel | The platform operator (the company running the store) | Everything across the whole marketplace — all vendors, all orders, the catalog, promotions, content, staff, settings | http://localhost:3004 |
| Vendor Admin | Each individual seller (vendor) | Only their own products, stock, orders, returns, reviews and payouts | http://localhost:3005 |
There is also a Storefront (the shopper-facing website) and the API that powers all three. This guide covers only the two back-office panels. The storefront and API have their own docs in the other sections.
The mental model: how the marketplace fits together
Read this once — every later section assumes it.
- This is a multi-vendor marketplace. One store, many sellers. A shopper can put products from several vendors into a single cart and pay once.
- When a customer pays, the system creates one parent order (what the customer sees and pays for) and then splits it into one sub-order per vendor (what each vendor actually fulfils). So an order with items from two vendors becomes one parent order + two sub-orders.
- The customer deals with the parent order (one payment, one order number).
- Each vendor deals with only their own sub-order — they pack, ship and get paid for their slice and never see the other vendor's slice.
- The admin can see everything: the parent order and every sub-order under it.
- Money is always shown in rupees (₹) but stored internally in paise (the smallest unit). You don't need to do anything about this — just know that totals are exact and there are no rounding surprises.
- Becoming a vendor is an approval flow. A seller applies, an admin reviews and approves (or rejects) the application. Approval creates the vendor's account and workspace. Only then can the vendor log in and start listing products.
- Vendors can only see their own data, never another vendor's. If a vendor tries to open something that belongs to a different vendor, they get a "not found" page (never a "forbidden" message) — this is deliberate, so no one can even discover that another vendor's data exists. When testing vendor screens, treat "not found" on someone else's record as the correct result.
Logging in
Admin Panel
- Open
http://localhost:3004in your browser. You'll land on the login screen. - Enter the admin email and password.
- Click Login.
| Field | Value |
|---|---|
admin@admin.com | |
| Password | supersecret |
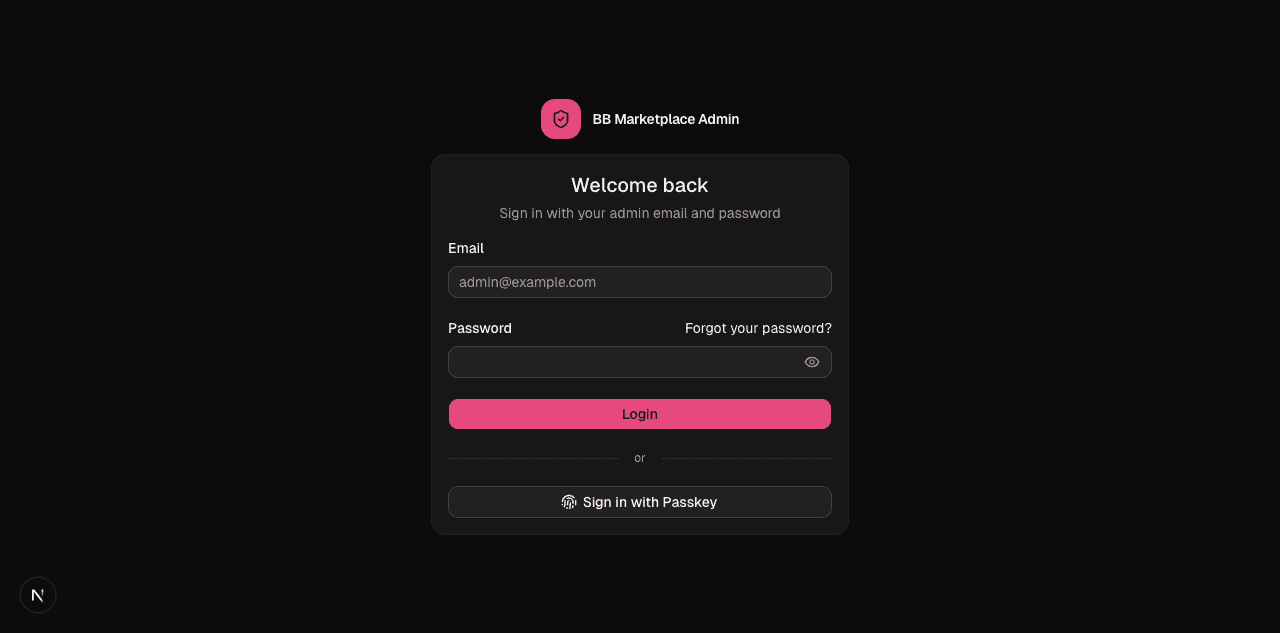
After login you arrive at the Dashboard.
Vendor Admin
- Open
http://localhost:3005. - Enter the vendor email and password.
- Click Login.
| Field | Value |
|---|---|
vendor@beautybarn.in | |
| Password | supersecret |
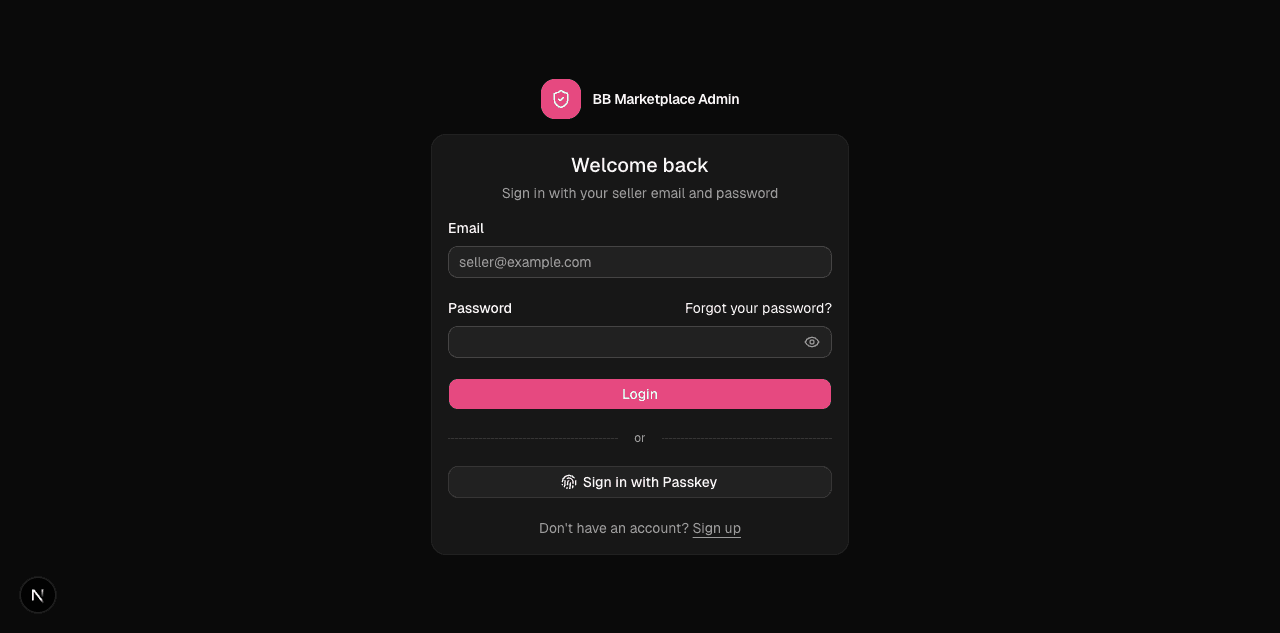
Tip: Use two different browsers (or one normal window + one private/incognito window) so you can stay logged into the Admin Panel and the Vendor Admin at the same time. Many test flows hop between the two — e.g. a vendor ships an order in the Vendor Admin, then you confirm the admin sees it updated.
What's in each panel (quick map)
Marketplace Admin Panel
Grouped exactly as the left sidebar groups them:
- Platform — Dashboard, Vendors, Orders, Banners, Dynamic Links, Product Listings, Global Scripts, Content Pages, Reports, Catalog, Product Attributes, Sales (Discounts / Free Gifts / Reward Points), Affiliates.
- Administration — Integrations (Klaviyo), Staff, Roles & Permissions, Notifications, Settings.
Full walkthrough: Admin Panel guide →
Vendor Admin
- Platform — Dashboard, Catalog (Products / Requests), Inventory.
- Sale — Orders, Shipping, Returns, Reviews, Reports.
- Payments — Payouts.
- Settings — Store Settings, Tax.
Full walkthrough: Vendor Admin guide →
Glossary (read before testing)
| Term | What it means in plain words |
|---|---|
| Vendor / Seller | A company that sells products through the marketplace. Has its own login and its own Vendor Admin. |
| Vendor application | The form a would-be vendor submits to ask to join. An admin approves or rejects it. |
| Parent order | The whole order as the customer sees it — one order number, one payment. |
| Sub-order (order-vendor) | The part of an order that belongs to one vendor. Vendors fulfil and get paid per sub-order. |
| Variant | A specific buyable version of a product, e.g. "Lipstick — Red — 5g". Stock and price live on the variant, not the product. |
| Inventory / Stock | How many units of a variant are available. Vendors manage their own stock. |
| Reservation | When an order is placed, stock is "held" so two customers can't buy the last unit. |
| Fulfilment | The vendor's side of getting an order out: assign a courier, mark shipped, mark delivered. |
| Return | A customer asking to send an item back. The vendor approves/rejects, arranges pickup, and refunds. |
| Payout | Money the marketplace owes a vendor for their sales, paid out by the admin. |
| Discount / Coupon | A price reduction, e.g. a code at checkout or an automatic cart discount. |
| Free gift | A promo that adds a free item when the cart meets a rule. |
| Reward points | Loyalty points customers earn and spend. |
| Affiliate | A partner who refers customers and earns a commission. |
| Banner / Dynamic link / Content page | Merchandising and content tools the admin uses to control what shoppers see. |
| RBAC (Roles & Permissions) | Controls which staff member is allowed to do what in the Admin Panel. |
| Settings | Configuration switches for the whole store (admin) or for one vendor (vendor). |
End-to-end happy path (a full test you can run)
This is the single most useful test because it touches both panels and the storefront. Run it top to bottom.
- Admin — confirm the vendor exists. Log into the Admin Panel → Vendors → All Vendors. You should see Beautybarn. (If you instead want to test onboarding from scratch, see Vendor applications in the Admin guide.)
- Vendor — list a product with stock. Log into the Vendor Admin → Catalog → Products → open or create a product, make sure it has at least one variant. Then Inventory → give that variant some stock.
- Storefront — place an order. As a shopper, add that product to the cart and check out. (Use the storefront app / test card per your environment.)
- Admin — see the order. Admin Panel → Orders. The new parent order appears. Open it and confirm it shows the vendor's sub-order inside.
- Vendor — fulfil the sub-order. Vendor Admin → Orders → open the sub-order → assign a shipping provider → mark it fulfilled, then delivered.
- Admin — watch status flow. Back in the admin order, confirm the status moved and that the change is recorded in the order's history/events.
- Vendor — get paid. Vendor Admin → Payouts shows the earning building up. Admin Panel → Vendors → (vendor) ledger / Orders → Payouts is where the admin disburses it.
- (Optional) Return flow. As the customer, request a return; as the vendor, approve → pickup → receive → refund; confirm the admin sees the refund.
Each numbered step is explained in full, with screenshots, in the two detailed guides:
Meta Catalog — operator setup guide
This guide walks an operator from "I have a Facebook account" to "the catalog-meta plugin is connected and pushing variants to a Meta Commerce Catalog." Follow it once per…
Marketplace Admin Panel — Tester Walkthrough
A click-by-click, plain-language guide to every screen in the Marketplace Admin Panel for QA and testers: what each module is for, where to find it, what you should see, and the exact steps to exercise it — with screenshots from the live app.